
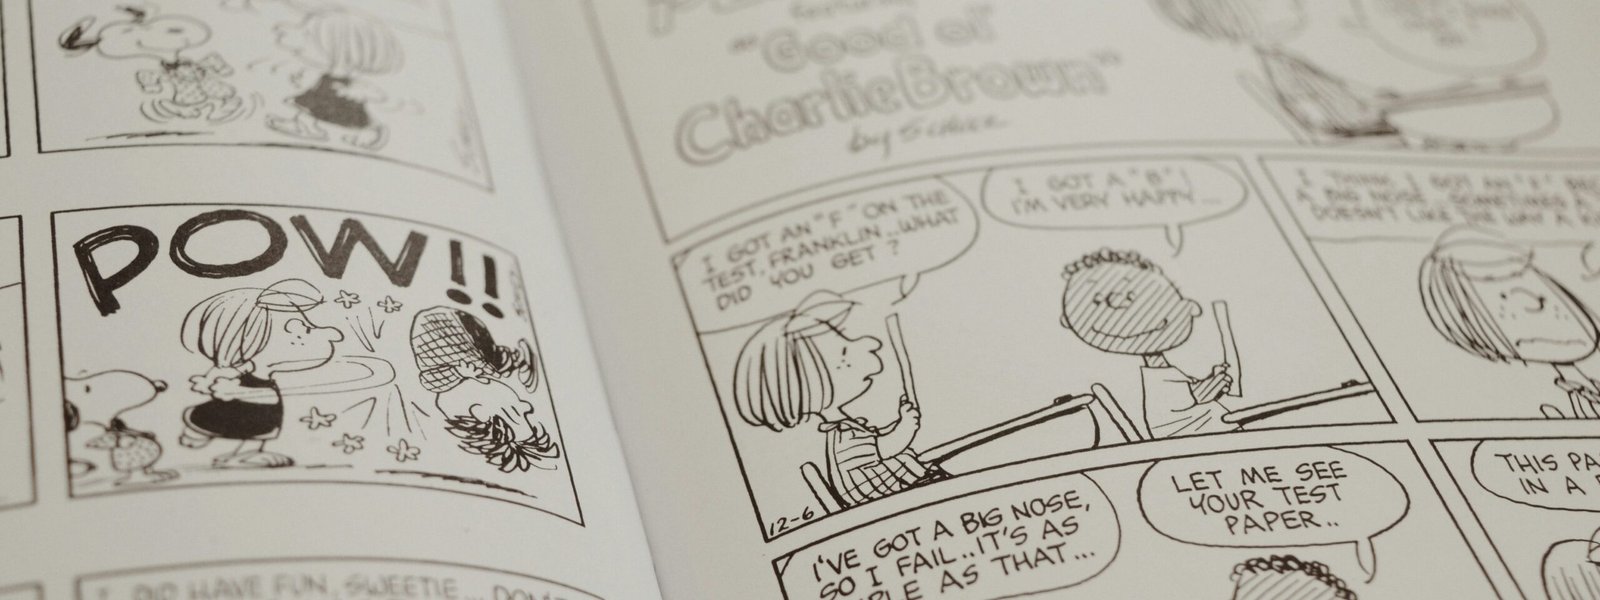
Creating a comic book can be exciting, yet many people feel stuck on what to do and where to begin. Because of that uncertainty, a lot of creators quit before they ever start. They don’t have a clear plan, they don’t know the steps, and the process feels bigger than it actually is.
That’s what this guide is here to change.
You don’t need expensive software or a huge, sprawling story. You just need a clear plan and a willingness to start small. Below is a simple, beginner‑friendly guide to help you create your first comic from scratch.
1. Start With Something Small
One of the hardest pills for new comic creators to swallow is restraint.
You have all these ideas and stories you want to tell the world—but before you can do that, you need to start with something small. A short, contained story gives you room to experiment, make mistakes, and try new things without getting overwhelmed.
When you’re creating your first story, keep this in mind:
- Keep the premise simple.
- Identify your main character, what they want, and what obstacle is stopping them.
If you can answer those questions, you now have the foundation for your first comic.
2. Write a Beat Sheet
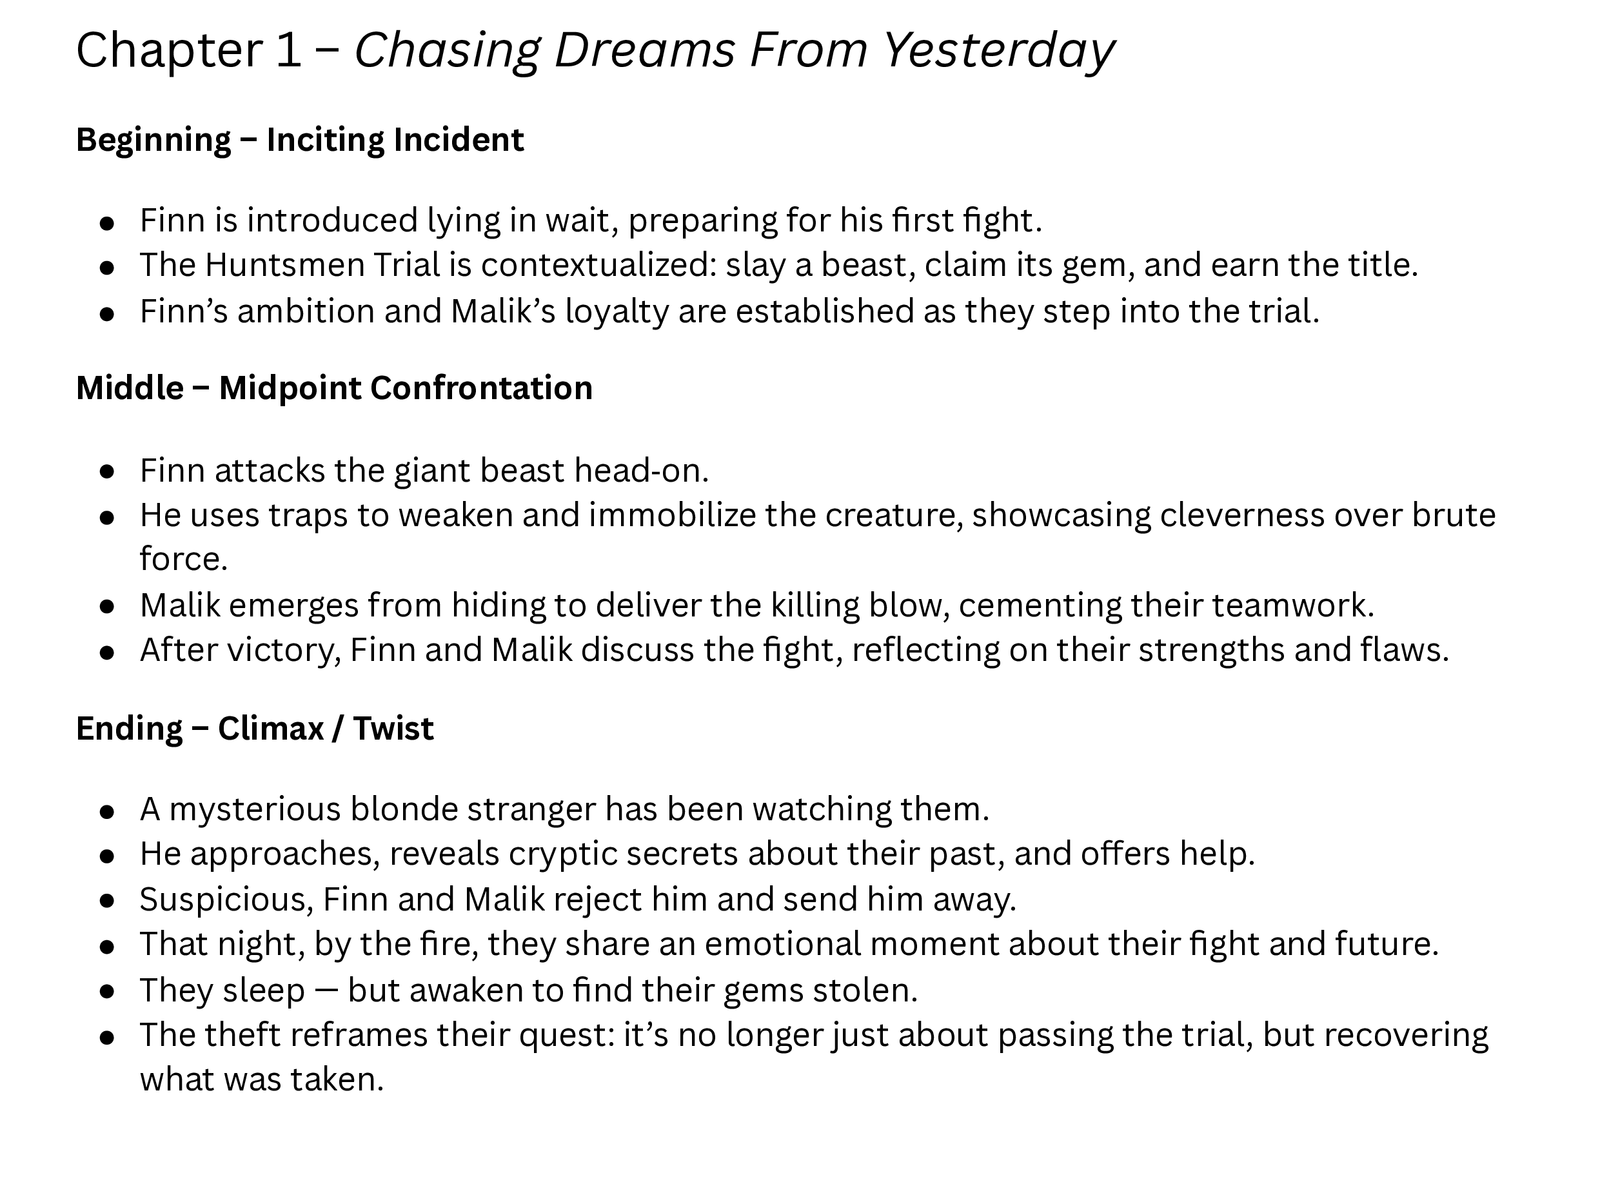
Before you write a full script, create a quick road map of your story called a beat sheet. This outlines the major story beats and helps you understand the direction of the story without getting stuck in details.
A simple beat sheet includes:
- Beginning: Introduce the character and the problem.
- Middle: Show the struggle or conflict.
- End: Resolve the problem, reveal the outcome, or set up the next chapter.
This doesn’t need to be fancy. A few clear sentences for each section are enough.
3. Create a Comic Script
A comic book script is different from traditional prose. It acts as a blueprint for the artist and for the final pages.

A basic comic script includes:
- Page numbers
- Panel descriptions
- Dialogue and captions
As a beginner, aim for 4–5 panels per page, and make sure the page numbers in your script match the page numbers in your comic. This keeps your workflow organized and makes collaboration easier if you’re working with an artist.
4. Thumbnail Your Pages
Thumbnailing is the step most beginners skip—but it’s vital.
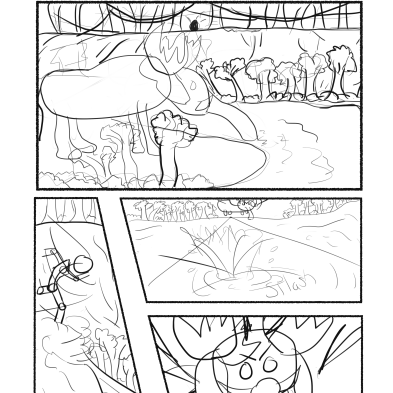
Thumbnails are small, rough sketches of each page. They help you lay out your art and storytelling before you commit to full drawings. Even if you “can’t draw,” your thumbnails don’t have to be perfect; they just need to communicate your ideas.
When you thumbnail, you’re deciding:
- How many panels go on each page.
- Where characters, word balloons, and sound effects should be placed.
- How the page should be read from panel to panel.
Good thumbnails save you time, prevent confusion, and make your final pages stronger.
5. Draw the Final Art
Once your thumbnails are done, you can start drawing the real pages or send them off to an artist. Most artists follow these stages:
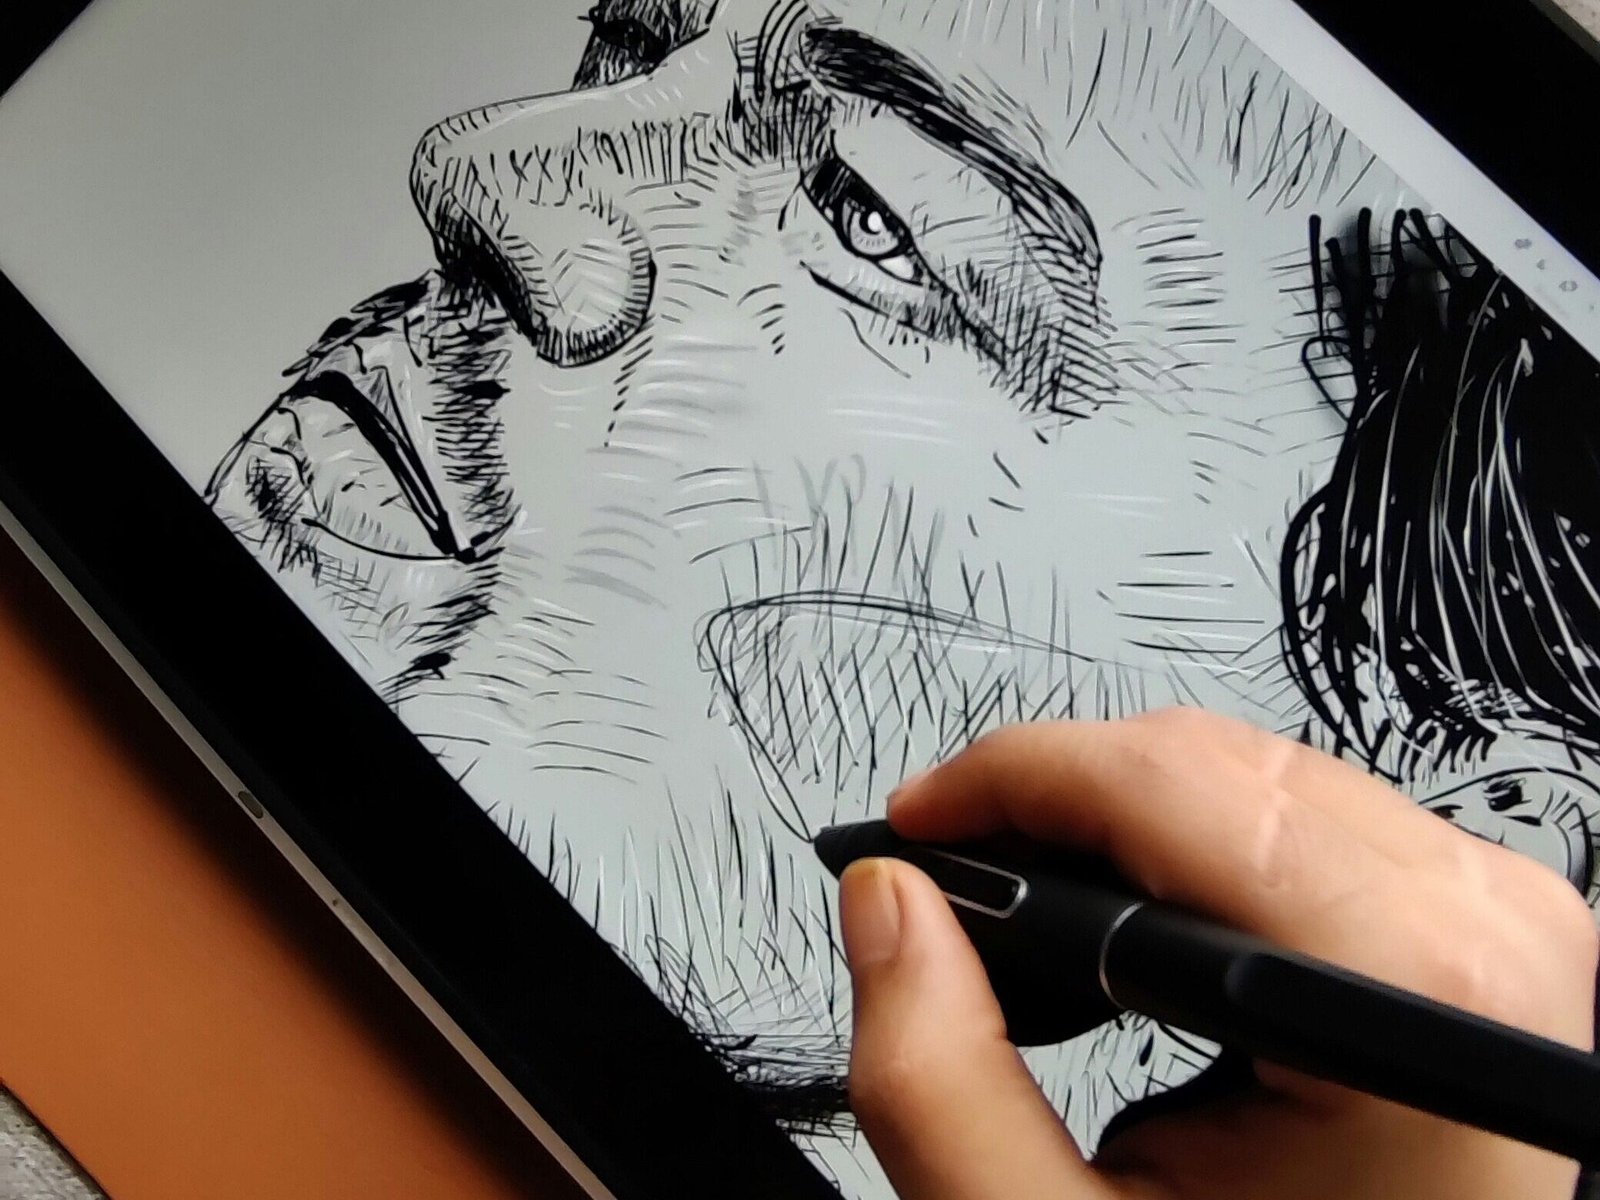
- Rough Sketches: This is where the artist places loose shapes and poses to establish the composition and movement of the scene.
- Pencils: After drawing your rough sketches, clean them up with more legible linework. This stage focuses on clarity, structure, and defining the final shapes.
- Inks: This is the phase where you convert the penciled artwork into final lines and details. Inking adds weight, texture, and polish to the page.
- Flats: This is where you place your base, flat colors onto the artwork. Flats help separate shapes and prepare the page for rendering.
- Rendering: This is where you add your shadows, highlights, textures, and visual effects to create a finished, fully realized piece of art.
You can draw traditionally or digitally. Whether you choose Clip Studio Paint, Procreate, or pencil‑and‑paper, they all work — it just depends on your preference.
6. Publish or Share Your Comic
Once your pages are complete, it’s time to share your work.

You can publish or share your comic through:
- Webtoon
- Tapas
- Instagram or TikTok
- Your own website
- Print‑on‑demand services (Amazon KDP, Barnes & Noble Press, IngramSpark)
Your first comic doesn’t need to be perfect. It just needs to exist. Getting it out into the world—even in a small way—will teach you more than any tutorial ever will.
Final Thoughts
Making a comic book is a step‑by‑step process. When you break it down into small, manageable parts, the whole thing becomes achievable.
If you want a more in‑depth guide to creating a comic book—with real examples and a step‑by‑step breakdown—check out our book Pitch To Publish, so you can create a comic book yourself from idea to finished product.