Hello all. Long time no see.
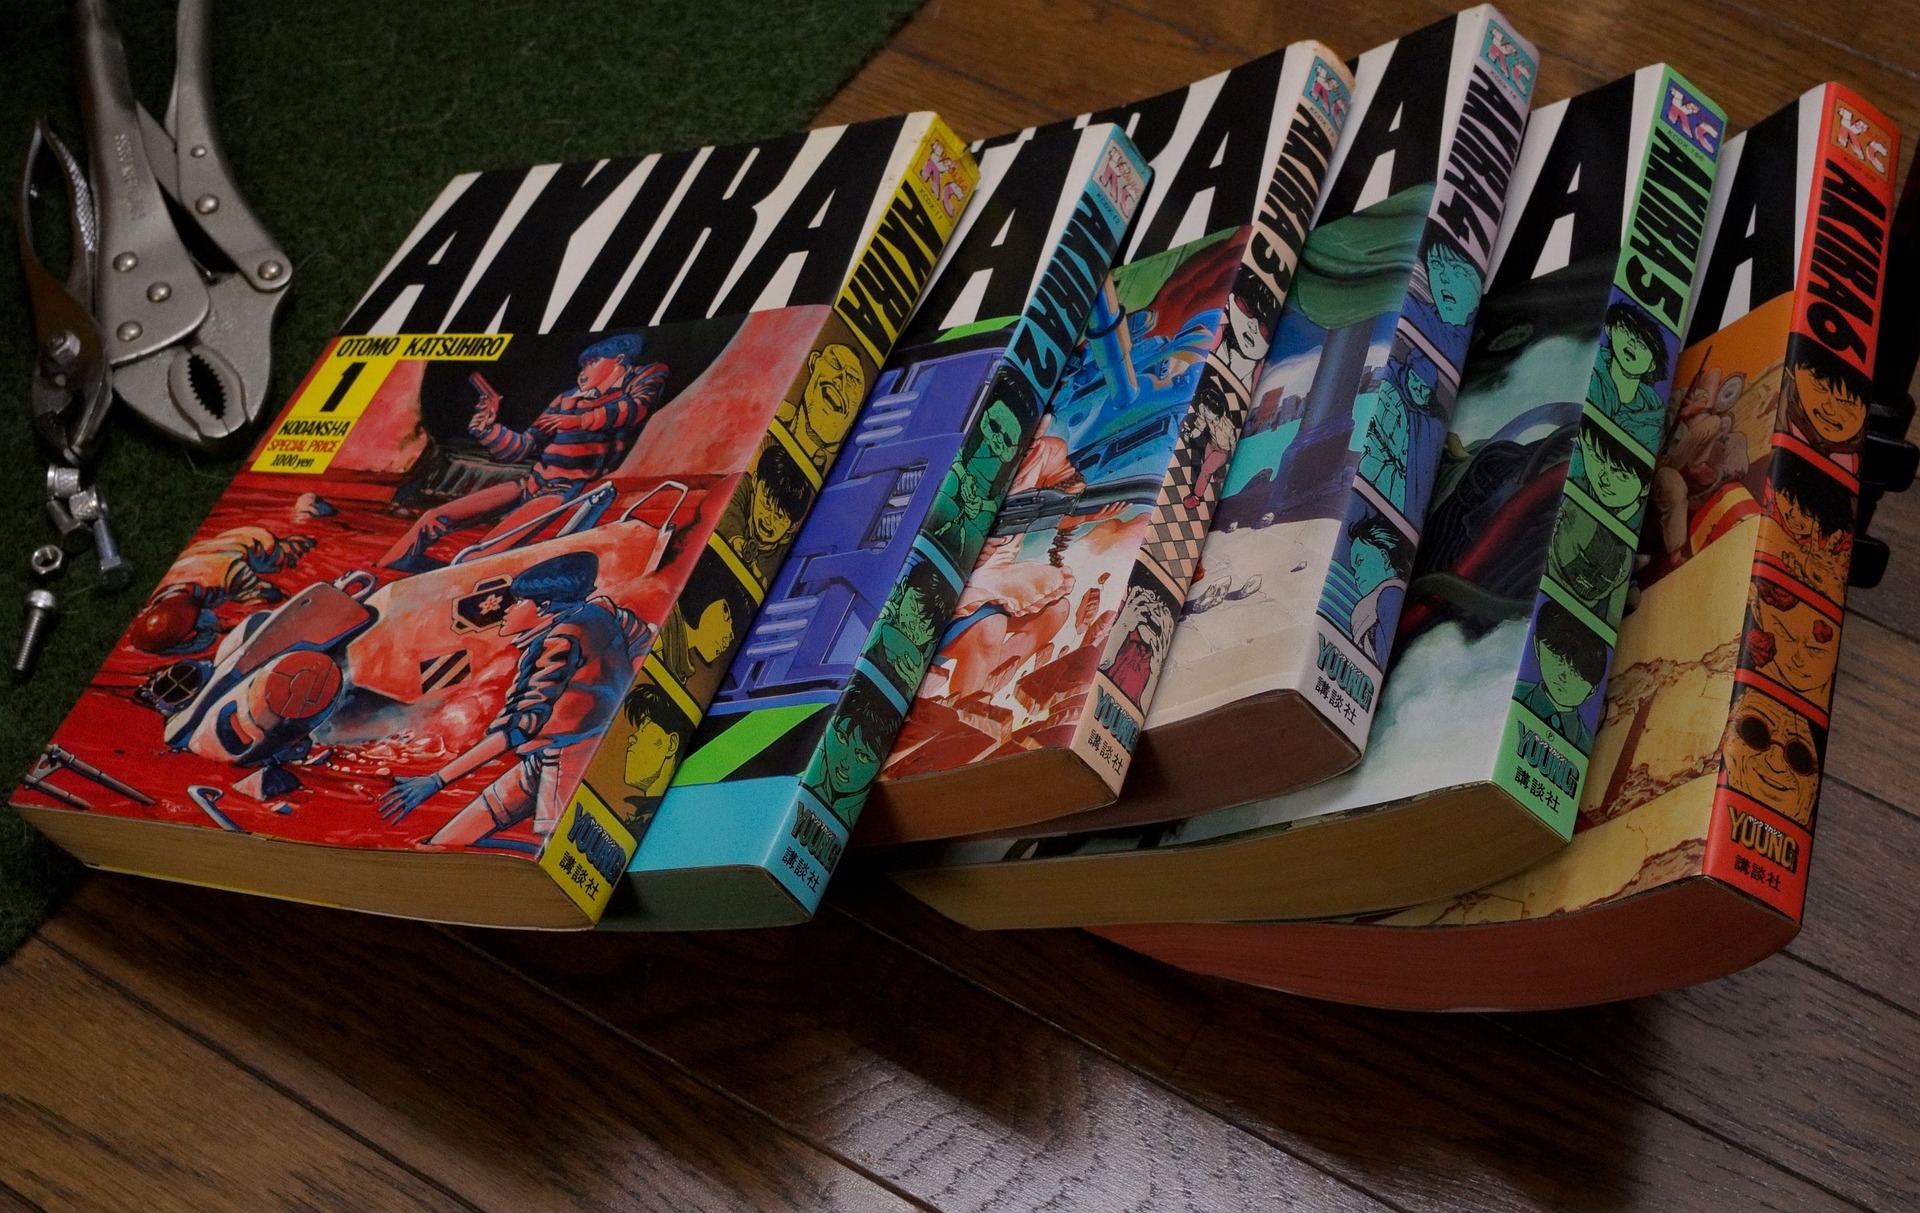
After finishing our anthology and our first 100‑page graphic novel, I assumed printing would be the easy part. It wasn’t. I hit every avoidable issue you can imagine: missing bleed, wrong trim size, text drifting too close to the edge, and entire files getting rejected. So here’s what I learned the hard way.
Start With the Basics
The biggest problems came from simple setup mistakes. Adding 0.125 in bleed on every side and keeping all text 0.25 in inside the trim would’ve saved me hours. I didn’t realize that printers shift when printing, so everything near the edge is at risk.
Export Settings Matter More Than You Think
Make sure your files are 300 DPI, CMYK, and exported as a print‑ready PDF. Also, your page count must be divisible by 4 or your book won’t bind correctly.
Use the Platform’s Cover Generator
This one is huge. When designing your cover, always use the cover generator provided by the platform you’re printing through. It automatically adjusts for spine width, page count, and safety margins. If your page count changes even slightly, the spine changes too — and the generator keeps everything accurate so you don’t have to redo the entire cover.
Simple Page Templates
If you want to skip the guesswork, here are two quick templates you can drop into your design software.
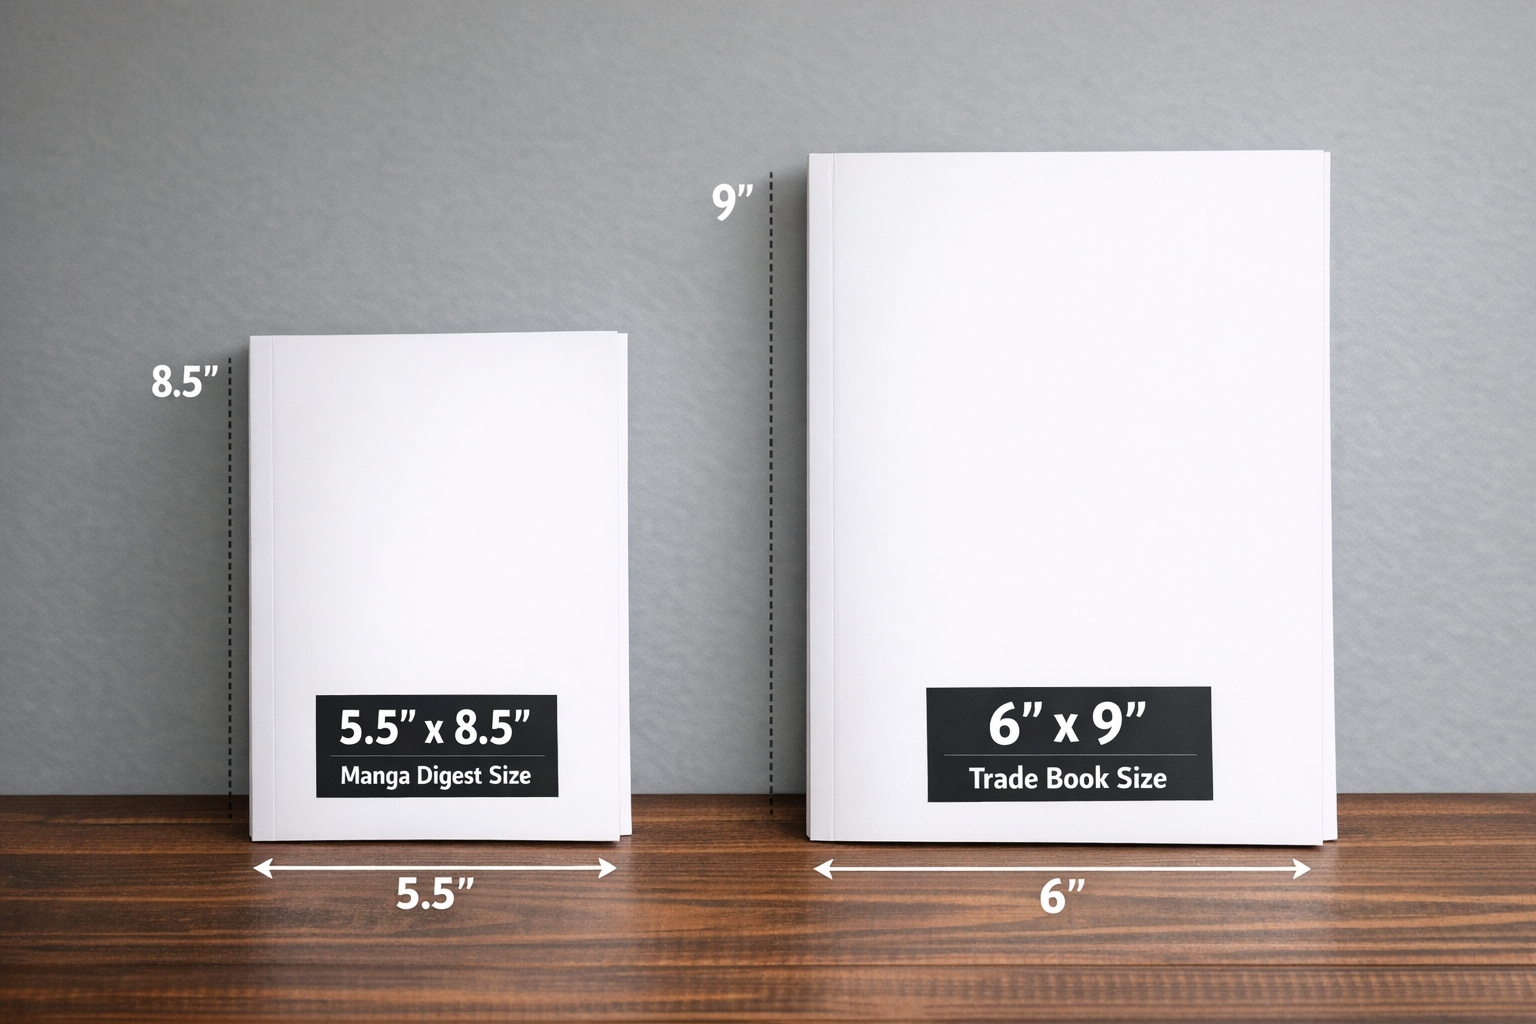
5.5 × 8.5 (Manga Digest)
- Trim: 5.5 × 8.5 in
- Bleed: 5.75 × 8.75 in
- Safe Zone: 5.0 × 8.0 in
6 × 9 (Trade Book)
- Trim: 6 × 9 in
- Bleed: 6.25 × 9.25 in
- Safe Zone: 5.5 × 8.5 in
Want a Head Start?
If you’re an indie creator trying to avoid the same mistakes, I built something to help.
Grab the Indie Jumpstart Kit at SimpleButComplex.com
It’s packed with templates, checklists, and tools to help you format and publish your comic the right way.